Are you considering a diy filter installation to improve your household water quality? This comprehensive guide will walk you through the process, ensuring that even beginners can successfully install their own water filter system. With the right tools and knowledge, you can enjoy clean and safe drinking water right from your tap.
Understanding the Importance of DIY Filter Installation
Water quality is a crucial aspect of health and well-being. Many households rely on municipal water systems, which may not always provide the best quality. By opting for a diy filter installation, you can take control of your water supply. But what are the benefits of installing a water filter yourself?
- Cost-Effective: DIY installations can save you money on professional services.
- Customization: You can choose a filter that meets your specific needs.
- Empowerment: Learning to install a filter gives you valuable skills.
Choosing the Right Water Filter
Before diving into the installation process, it is essential to select the right water filter. Consider the following factors:
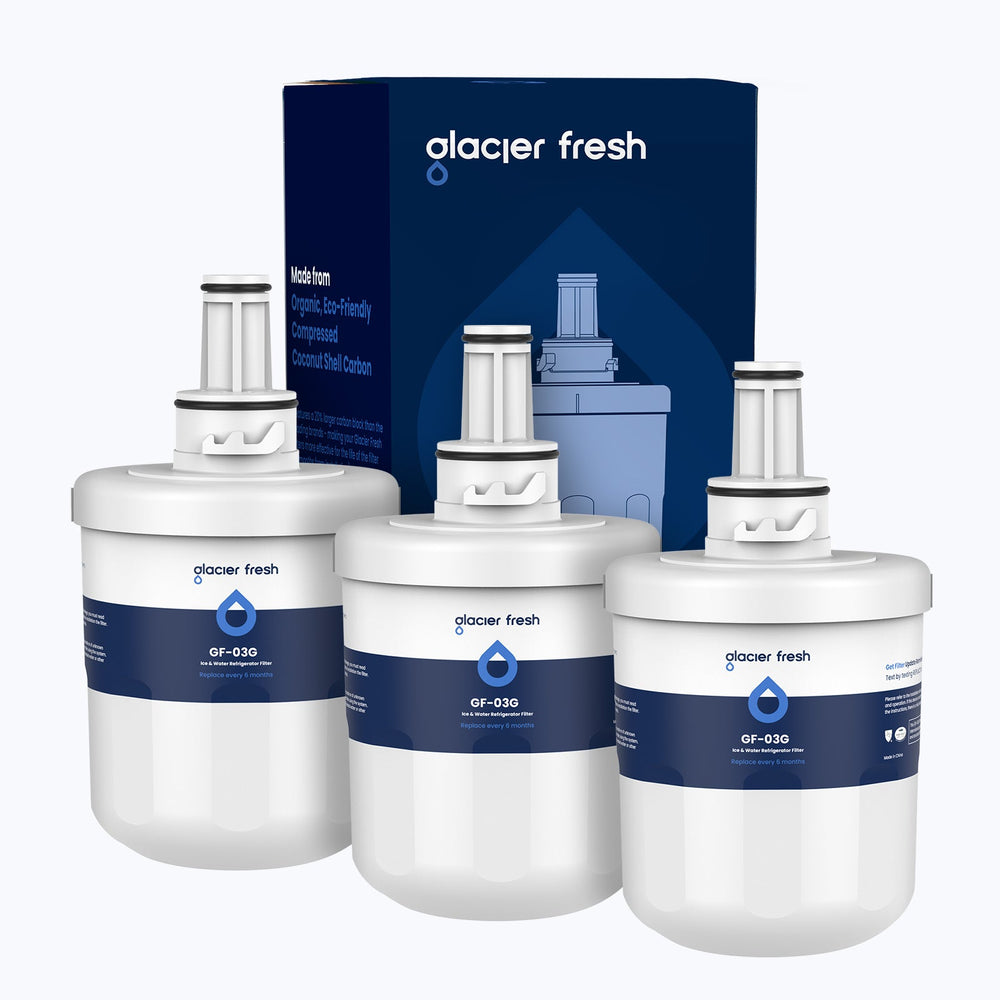
- Type of Filter: Options include activated carbon filters, reverse osmosis systems, and UV filters.
- Filtration Needs: Assess what contaminants you want to remove from your water.
- Flow Rate: Ensure the filter can handle your household's water usage.
For a variety of options, you can explore that cater to different filtration needs.
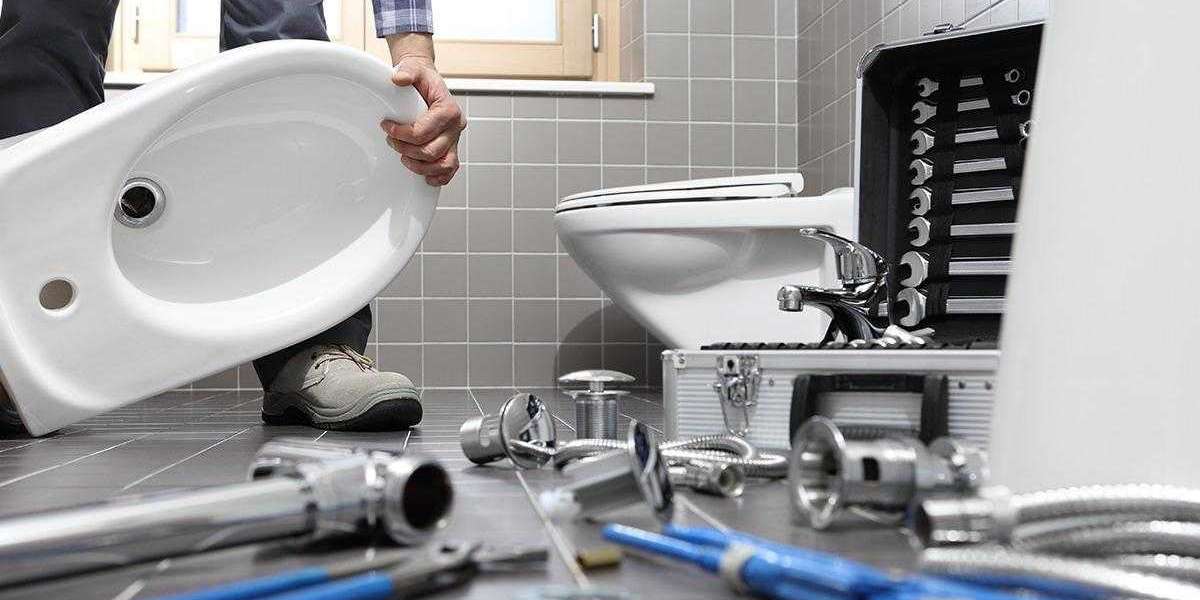
Step-by-Step Instructions for DIY Filter Installation
Now that you have chosen your filter, follow these steps for a successful diy filter installation:
- Gather Your Tools: You will need a wrench, screwdriver, and Teflon tape.
- Turn Off the Water Supply: Always ensure the water is turned off before starting any installation.
- Remove the Existing Faucet: If applicable, take off the old faucet to make way for the filter.
- Install the Filter: Follow the manufacturer's instructions carefully for your specific model.
- Test for Leaks: Once installed, turn the water supply back on and check for any leaks.
Maintaining Your DIY Water Filter
After completing your diy filter installation, regular maintenance is crucial for optimal performance. Here are some tips:
- Change Filters Regularly: Follow the manufacturer's guidelines for filter replacement.
- Inspect Connections: Periodically check for any signs of wear or leaks.
- Clean the System: Ensure that the filter housing is clean to prevent contamination.
In conclusion, a diy filter installation can significantly enhance your household's water quality. By following these steps and maintaining your system, you can enjoy clean and safe drinking water for years to come. Remember, the right tools and knowledge are key to a successful installation.