
When it comes to outdoor lighting for photography, the golden hour is often regarded as the holy grail for photographers. This magical time, occurring shortly after sunrise and before sunset, offers soft, diffused light that can transform ordinary scenes into extraordinary images. Understanding how to harness this natural light can significantly enhance your photography skills.
Understanding the Golden Hour
The golden hour is characterized by warm, golden tones that create a flattering effect on subjects. But what exactly makes this time so special? The low angle of the sun during these hours results in longer shadows and a softer light quality. This phenomenon not only enhances colors but also adds depth to your photographs.
Planning Your Shoot
To make the most of outdoor lighting for photography, planning is essential. Here are some tips to consider:
- Check the sunrise and sunset times for your location.
- Scout your location in advance to identify the best angles and compositions.
- Consider the weather; overcast days can also provide beautiful, diffused light.
Utilizing Natural Light
While the golden hour is ideal, understanding how to use natural light throughout the day can also yield stunning results. For instance, during midday, harsh sunlight can create unflattering shadows. In such cases, using reflectors or diffusers can help soften the light. Have you ever considered how the direction of light affects your subject? Front lighting can flatten features, while side lighting can add texture and dimension.
Incorporating Additional Lighting
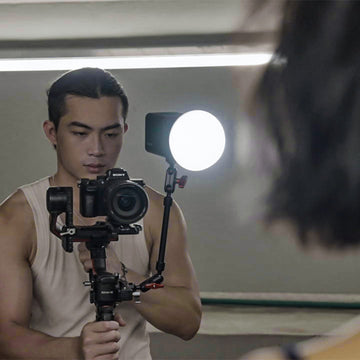
Sometimes, relying solely on natural light may not suffice. This is where additional lighting sources come into play. Portable LED lights or flash units can be invaluable tools for enhancing your outdoor lighting for photography. They can fill in shadows or highlight specific areas of your composition. For a comprehensive selection of lighting options, check out  .
.
Post-Processing Techniques
Even with the best outdoor lighting, post-processing can elevate your images further. Adjusting exposure, contrast, and color balance can help you achieve the desired look. Have you experimented with editing software? Tools like Adobe Lightroom or Photoshop can be instrumental in refining your images to perfection.
Final Thoughts
Mastering outdoor lighting for photography is an ongoing journey. By understanding the nuances of the golden hour, planning your shoots effectively, and utilizing both natural and artificial light, you can create stunning photographs that captivate your audience. Remember, the key is to experiment and find what works best for your unique style.