
When it comes to enhancing your outdoor space, simple installation landscape lighting transformers play a crucial role. These transformers convert standard voltage to low voltage, making them essential for landscape lighting systems. In this guide, we will walk you through the installation process, ensuring that you can illuminate your garden or yard effectively and safely.
Understanding Landscape Lighting Transformers
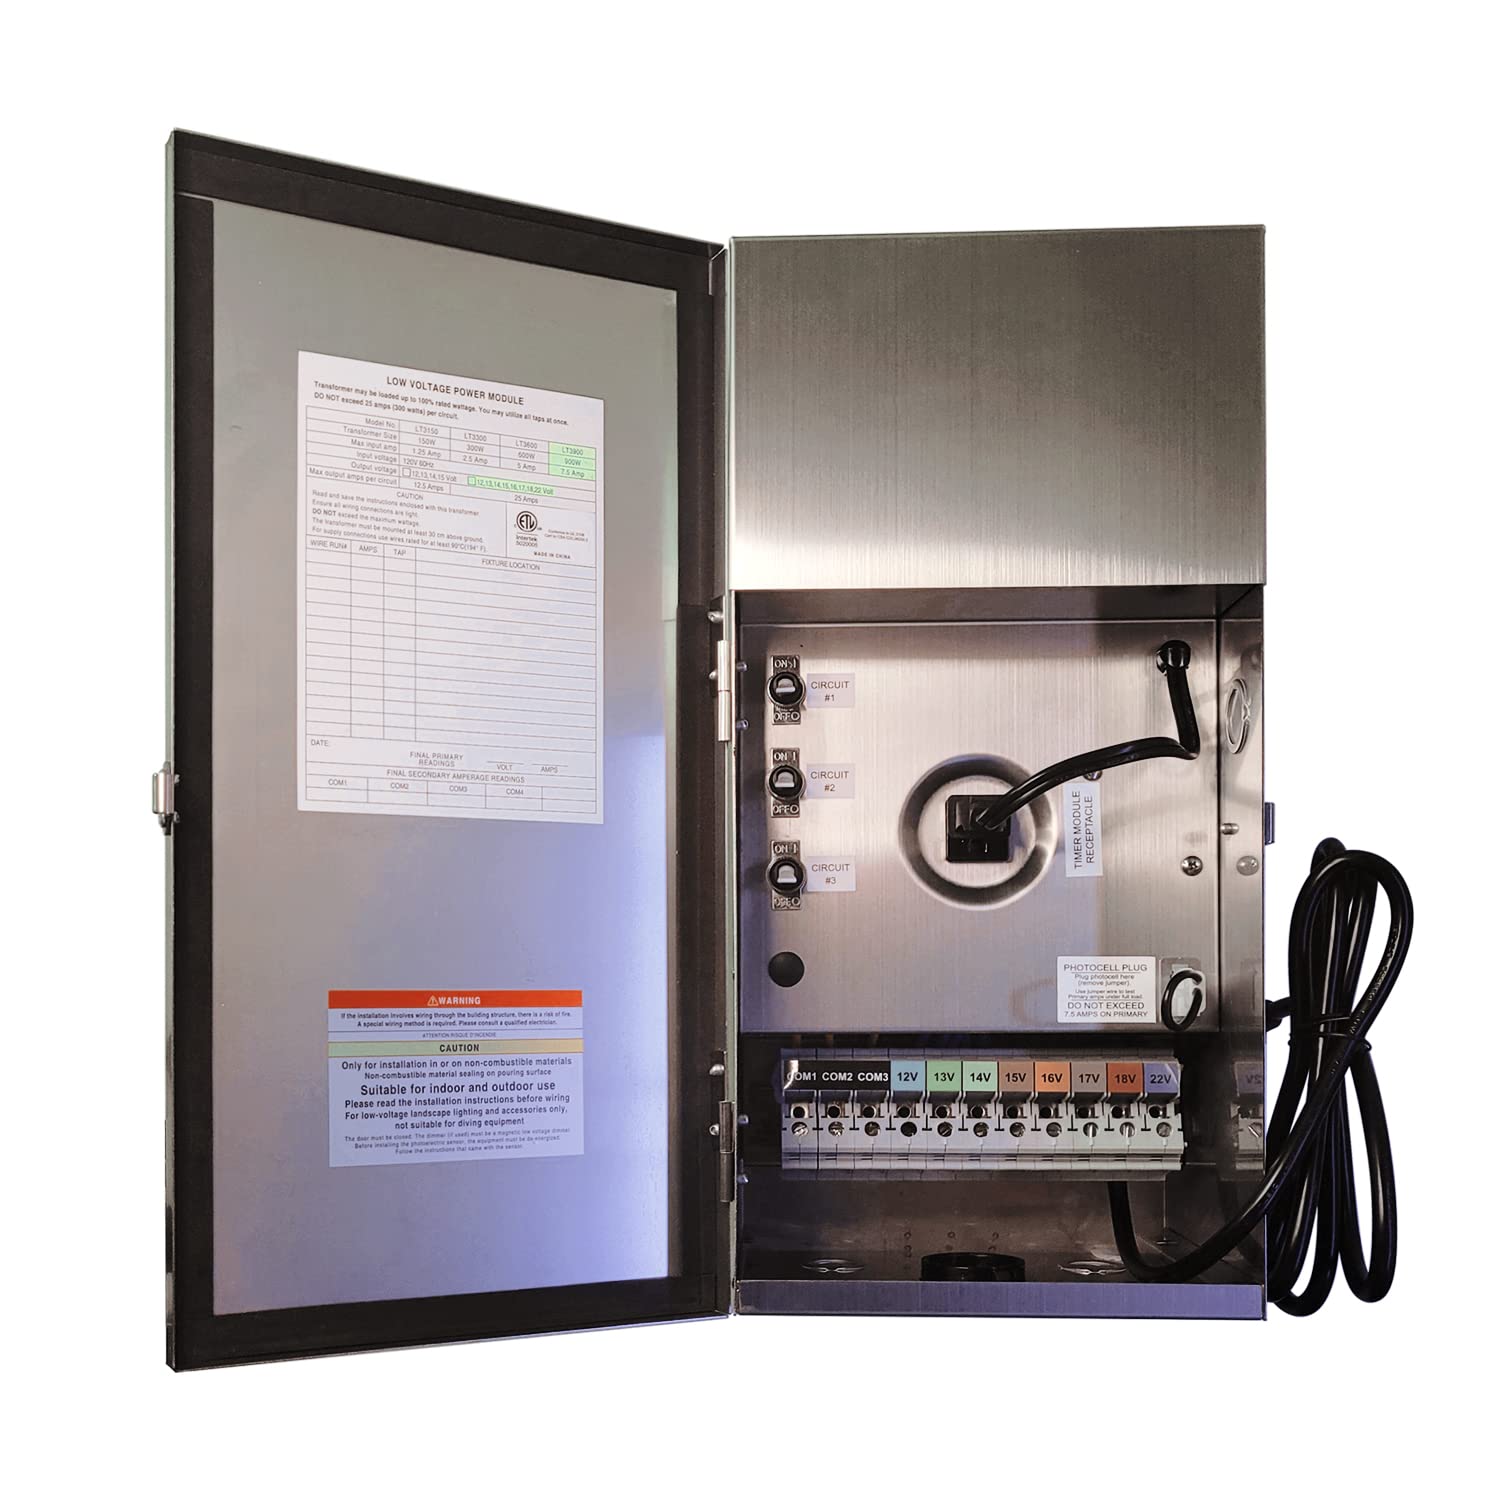
Before diving into the installation, it is important to understand what landscape lighting transformers are and how they function. These devices are designed to reduce the voltage from your home’s electrical system, typically 120 volts, to a safer 12 volts for outdoor lighting. This reduction not only protects your fixtures but also enhances energy efficiency.
Choosing the Right Transformer
When selecting a transformer, consider the following factors:
- Wattage: Ensure the transformer can handle the total wattage of all your landscape lights.
- Type: Choose between a magnetic or electronic transformer based on your lighting needs.
- Weather Resistance: Opt for a model that is rated for outdoor use to withstand the elements.
Preparing for Installation
Preparation is key to a successful installation of simple installation landscape lighting transformers. Here are the steps you should follow:
- Gather your tools: You will need wire cutters, a screwdriver, and electrical tape.
- Select a location: Choose a dry, accessible area close to a power source.
- Plan your layout: Determine where your lights will be placed and how they will connect to the transformer.
Step-by-Step Installation Process
Now that you are prepared, let’s go through the installation process:
- Mount the Transformer: Secure the transformer to a wall or post using screws. Ensure it is at least 12 inches above the ground.
- Connect to Power: Turn off the power at the circuit breaker. Connect the transformer to the power source following the manufacturer’s instructions.
- Run the Low Voltage Wire: Lay out the low voltage wire from the transformer to each light fixture. Make sure to bury the wire at least 6 inches underground to protect it.
- Connect the Lights: Strip the ends of the wire and connect them to the fixtures. Use wire nuts or electrical tape to secure the connections.
- Test the System: Turn the power back on and test your lights to ensure everything is functioning correctly.
Maintenance Tips for Longevity
To ensure your simple installation landscape lighting transformers continue to operate efficiently, consider the following maintenance tips:
- Regularly check connections for corrosion or damage.
- Clean the transformer and fixtures to prevent dirt buildup.
- Inspect the wiring for any signs of wear or exposure.
For high-quality transformers, visit  . Investing in the right equipment will ensure your landscape lighting system remains effective and beautiful.
In conclusion, installing simple installation landscape lighting transformers can significantly enhance your outdoor space. By following these steps and maintaining your system, you can enjoy a beautifully illuminated landscape for years to come.